How to create your own Minecraft server: Simple steps to do it

Although Microsoft and Mojang let players rent small private servers through Minecraft Realms, some users would rather avoid shelling out money and making use of their own hardware.

credit: Mojang
By Rohit Kohli | Dec 24, 2021 | 2 Min Read follow icon Follow Us

It hasn’t always been easy to host a Minecraft server, but things seem to have changed now, and the same goes for Minecraft 1.18. Although Microsoft and Mojang let players rent small private servers through Minecraft Realms, some users would rather avoid shelling out money and making use of their own hardware.

Third-part server hosting sites also enable players to host on high-quality hardware for a subscription fee, but that won’t be required as long as players own a high-end computer and superfast internet connection.
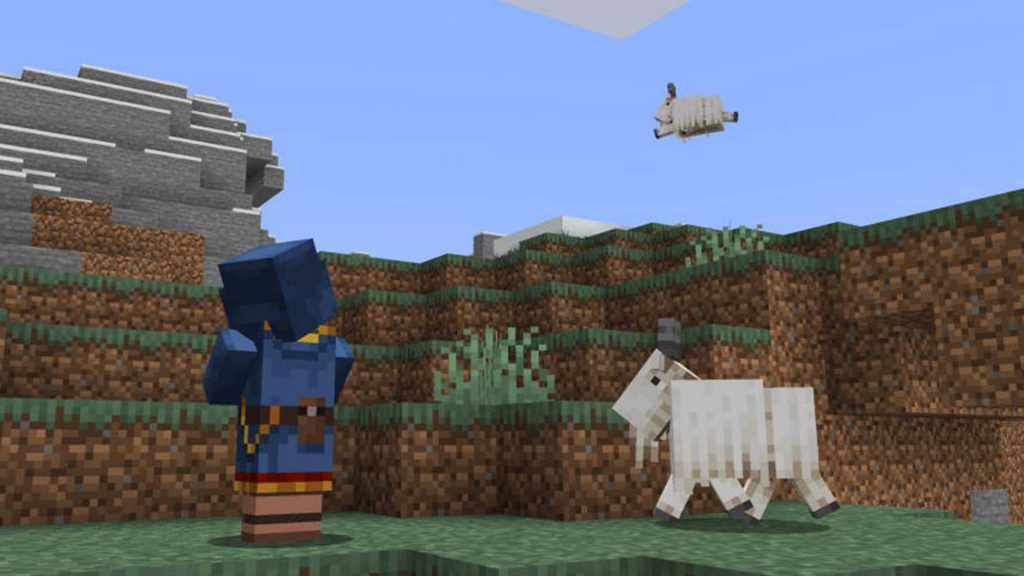
Minecraft gameplay in a file photo. (Image credit: Twitter/Minecraft)
(Image credit: Twitter/Minecraft)

ALSO READ: Minecraft 1.18 update: Five small features you should know about

How to host a Minecraft server

Setting up a server in Minecraft on one’s hardware could be tricky for people unversed with Java or networking. However, the process has gotten simpler. We have listed down the step-by-step guide on how to host a server on Minecraft Java Edition.

  • Download Minecraft’s Java Edition server files from Minecraft.net.
  • Make sure Java is fully up-to-date on the system that will host the server.
  • Make a folder where the server files will be stored.
  • Copy the downloaded .jar server file to the server folder.
  • Copy the file path of the server folder to the clipboard.
  • Type “cd” in the command prompt and then paste the file path to the server folder.
  • Then type Java -jar “name of the jar file”.jar and hit enter.
  • The “failed to load properties and failed to load eula” should appear.
  • Back in the Minecraft server folder, open eula.txt with the preferred text editor.
  • In the eula file, change “eula=false” to “eula=true” and save the file.
  • Open the server.properties file in the same folder with a text editor. Also, make note of the “query.port” setting, because the player will need it later for port forwarding.
  • Players will get additional settings for PvP and allow dimensions.
  • Repeat steps 6 and 7 and the server should be online.
  • Finally, make sure to forward the port outlined in the “query.port” setting in the server properties file.
  • Visit NoIP to understand how to forward a port on their hardware.

Once these steps are completed, players only need to hop into the server and open Minecraft, select multiplayer, add the server, and input the IP address of the system hosting the server.

Get the latest from Sportslumo.com by following us on InstagramTwitter and YouTube.